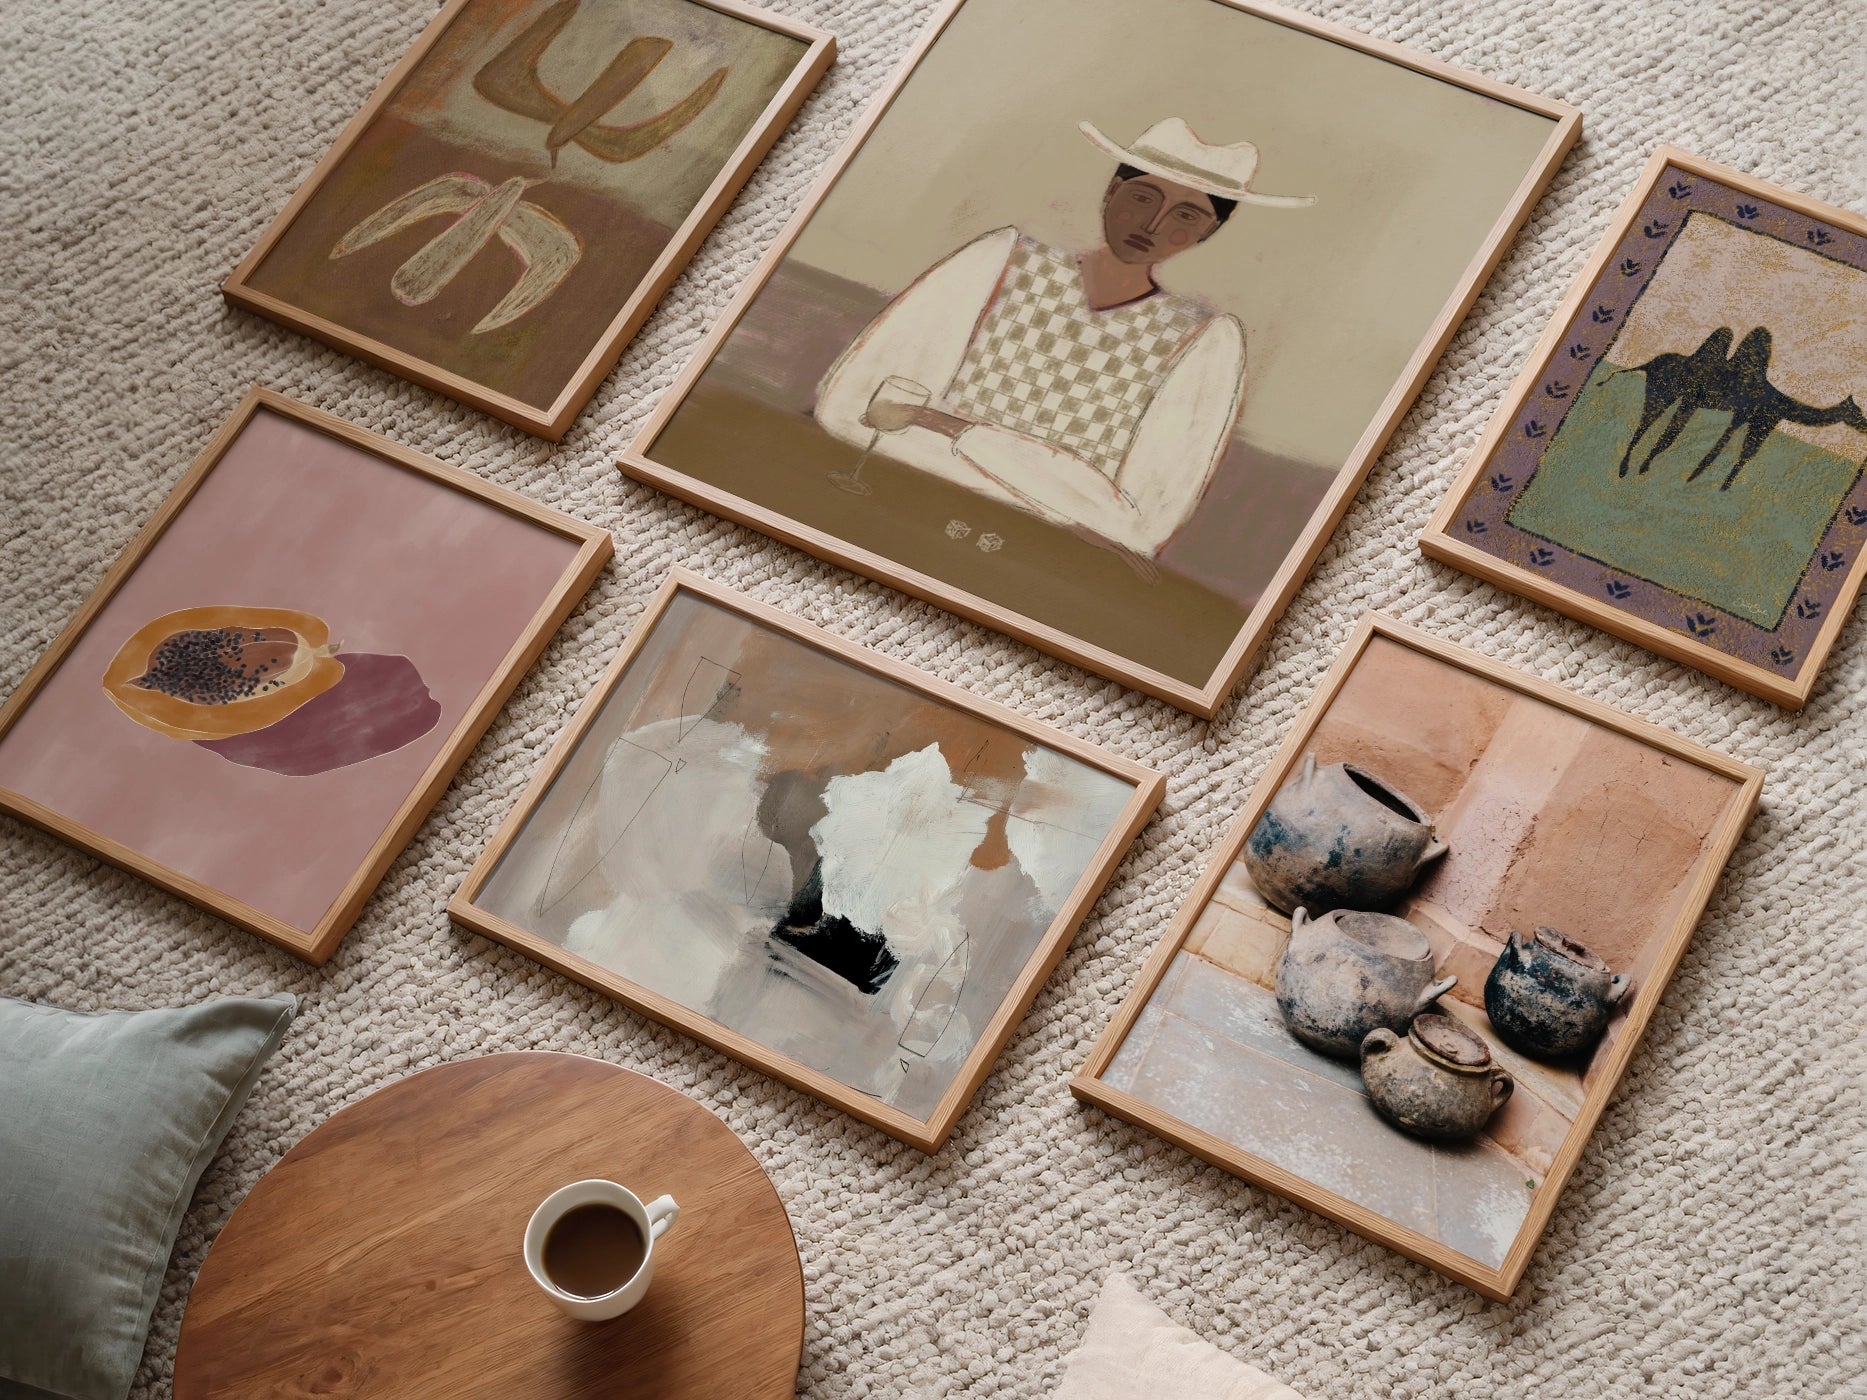
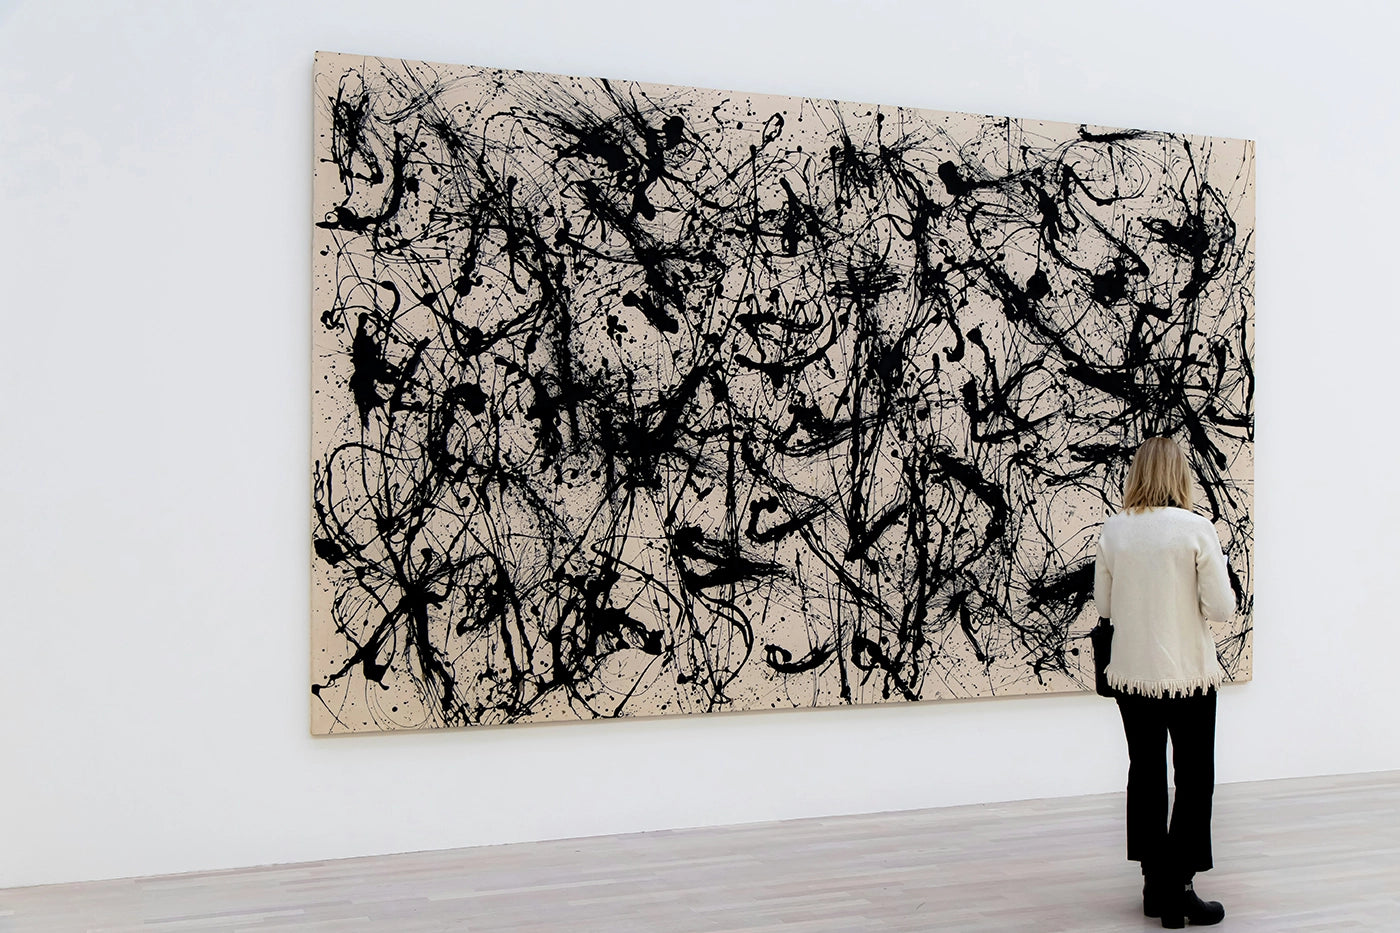
You have finally received your paintings, you have the wall ready to hang them, and now it is the moment of truth. Here is a very useful guide for hanging a painting (or several).
Step 1: Gather the necessary tools
Make sure you have all the necessary tools before you begin. You will need a drill, a level, a pencil, a ruler, a tape measure, screws or nails suitable for your wall, and a hammer (if you are using nails).
Step 2: Find the right place
Decide where you want to hang the painting. Consider eye height and the placement of other nearby furniture or decorative items to ensure the painting is well balanced and looks good in its chosen spot.
Step 3: Mark the position
Use a pencil to mark the position on the wall where you want to hang the painting. Measure and mark the height from the floor to the top of the box. If you are hanging multiple pictures in a group, consider the arrangement and mark the positions for all of them.
Step 4: Find the anchor points
Use a stud finder or tap the wall gently to find the studs behind the surface. Studs are the vertical wooden or metal beams in the wall that provide secure support for hanging heavy items. Mark anchor points on studs if possible.
Step 5 - Measure and Mark Mounting Points
Measure the distance from the top of the frame to the mounting point on the back of the frame (usually a hook or wire). Transfer this measurement to the wall, from the position mark you made in Step 3, and make a mark at that location. Repeat this process for all mounting points on the frame.
Step 6: Prepare the surface
If you are going to hang the picture on a plaster or drywall wall, it may be helpful to use a wall anchor to provide additional support. If you are going to hang it on a wood or metal stud, this is not necessary. Follow the instructions for the wall anchor if you are using one.
Step 7: Drill the holes
Use a drill to drill holes at the marks you made on the wall. Be sure to use a drill bit that is the correct size for the screws or nails you will be using.
Step 8: Insert the anchors (if necessary)
If you are using wall anchors, insert them into the holes you drilled in Step 7. Tap them lightly with a hammer to ensure they are secure.
Step 9: Place the screws or nails
Drive the screws or nails into the holes you drilled or into the anchors you installed. Make sure they stick out enough that you can hang the painting on them, but not so much that the painting hangs loose.
Step 10: Level and Hang the Picture
Place the level on top of the box to make sure it is straight. Adjust the position of the box as needed. Once it's level, press gently against the wall to make marks at the exact location of the screws or nails.
Step 11: Hang the painting
Carefully lift the picture and place it on the screws or nails you have prepared in the wall. Make sure the frame's mounting points hook securely onto the screws or nails.
Step 12: Check the level
Use the level again to make sure the box is completely level. Adjust the position of the box if necessary.
Step 13: Make the final adjustments
Once the box is level and in place, check to see if it is centered correctly. If it's a group of boxes, make sure they're lined up nicely with each other.
Step 14: Enjoy Your Picture Hanging
Congratulations! Now you can enjoy your painting hanging on the wall. Take a moment to appreciate it and make sure it is secure and well positioned.
Always remember to follow safety instructions when using power tools such as a drill and use caution when handling sharp nails or screws. If you don't feel comfortable doing this process yourself, consider hiring a professional to hang your pictures.







Leave a comment
All comments are moderated before being published.
This site is protected by hCaptcha and the hCaptcha Privacy Policy and Terms of Service apply.